|
<< Click to Display Table of Contents >> Procedure for Modelling a Dump |
  
|
|
<< Click to Display Table of Contents >> Procedure for Modelling a Dump |
  
|
The following description applies to the modelling of a dump in the Free simulation mode. Set this mode from the menu item Simulate | Free Excav & Dump, or use the pull-down list setting on the toolbar:

Free Simulation mode.
Create a Dump Template
A suitable dump template should be created as described above prior to the modelling of a dump. Open the Dump Settings dialog box. Use Dump | Settings or click the following toolbar button:
Dump Settings Toolbar button.
Use the Active Dump Template pull-down list to select a suitable template. Alternatively create a new template and make it active. A set up the Dump Template using the methods and settings described in the previous section.
Draw a Dump (Point, Line or Area)
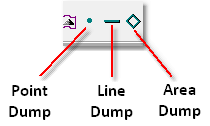
Next, select one of the toolbar buttons for drawing a dump (point, line or area):

Dumps Toolbar button.
The Terrain Cursor will become active on the terrain in the current window. The dump is now drawn interactively with the mouse. Surface features and other objects may be snapped to in this process (see Manipulating Vector Objects).
A point dump is set by simply moving the cursor to the desired point and clicking the left mouse button to tentatively place the point, then clicking right mouse button to confirm. The point can be repositioned on the terrain with the mouse using a “drag and drop” technique.
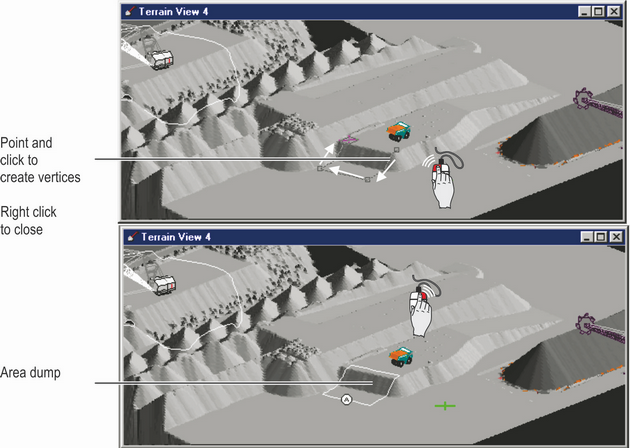
A line or area vertex point is specified by clicking the left mouse button at chosen locations on the terrain. Click the right mouse button when all vertices have been placed to end a line dump or close an area dump.
If the shape is not quite correct, you can use the vector objects editing techniques to correct it. The figures below illustrate this procedure for an area dump:

Placing an Area Dump.
When creating the Dump Template a General Log must be associated with this template. In order to proceed with modelling the dumping process the Contents of this log must contain material. Generally, this material has been acquired by a previous Excavation process.
Execute dump modelling
After the dump has been defined, start the dump modelling by clicking on the Start Dump toolbar button:
Start Dumping Toolbar button.
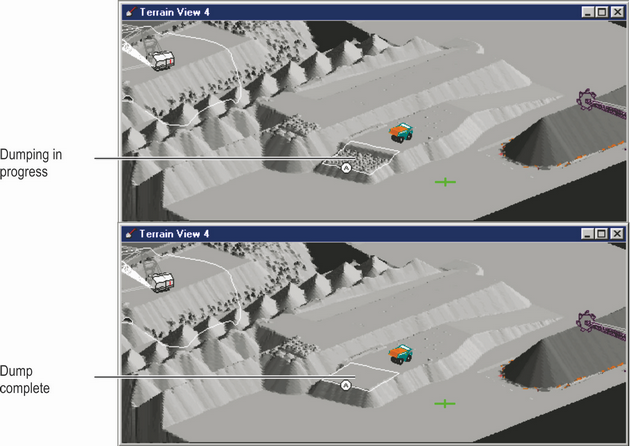
The view will be refreshed to show the progress of the dump as it is built. You can press the “Esc” key or click the right mouse button to halt the dumping process at any time.

Dumping, Area Dump with Level Constraint.
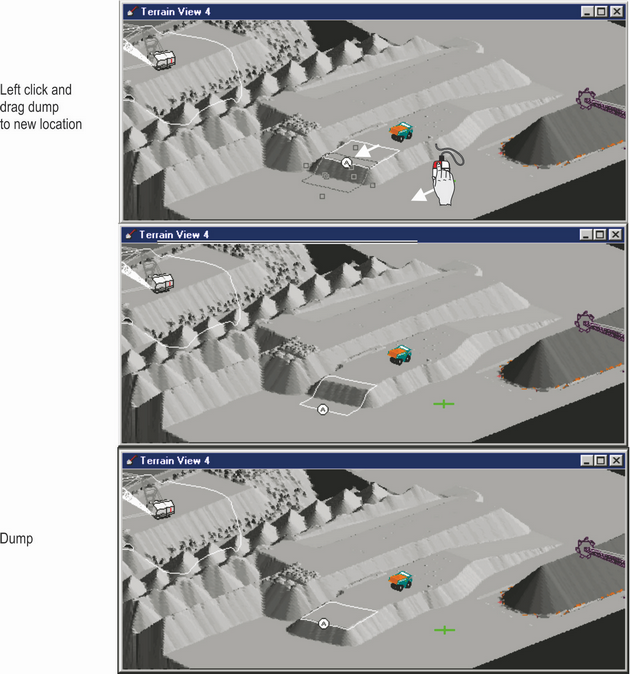
Once dumping has been completed, the dump (point, line or area) can be dragged to a new location and the process repeated. An example of this is shown in the figure below:

Moving Dump Area to new location and Dumping.
Note that for the example shown in two figures above, the dump is a level-constrained area dump. The first stage (First figure) reaches the constraining level before the contents of the associated General Log are emptied. The dump area is moved and the process continues (Figure 81), dumping material from the log. Once the General Log contents reaches zero no further dumping will occur.